
How to Go Hiking – Awesome Advice for Beginners
I have been hiking for years, and I love it so much. If you want to learn how to go hiking – either because you’ve never done it before or you want to get more serious about it – this guide is for you.
Important to Note: Everyone can learn how to go hiking. It doesn’t have to be difficult. The outdoors are so wonderful because they’re accessible to everyone. Many parks even have accessible trails, making time outside available for all.
So I’m happy you’re here! Hiking has so many mental and physical health benefits. You can see some incredible views. And it’s a great way to spend time with others – for some reason it’s easier to have deep conversations while walking amongst the trees.
How to Go Hiking – The Basics:
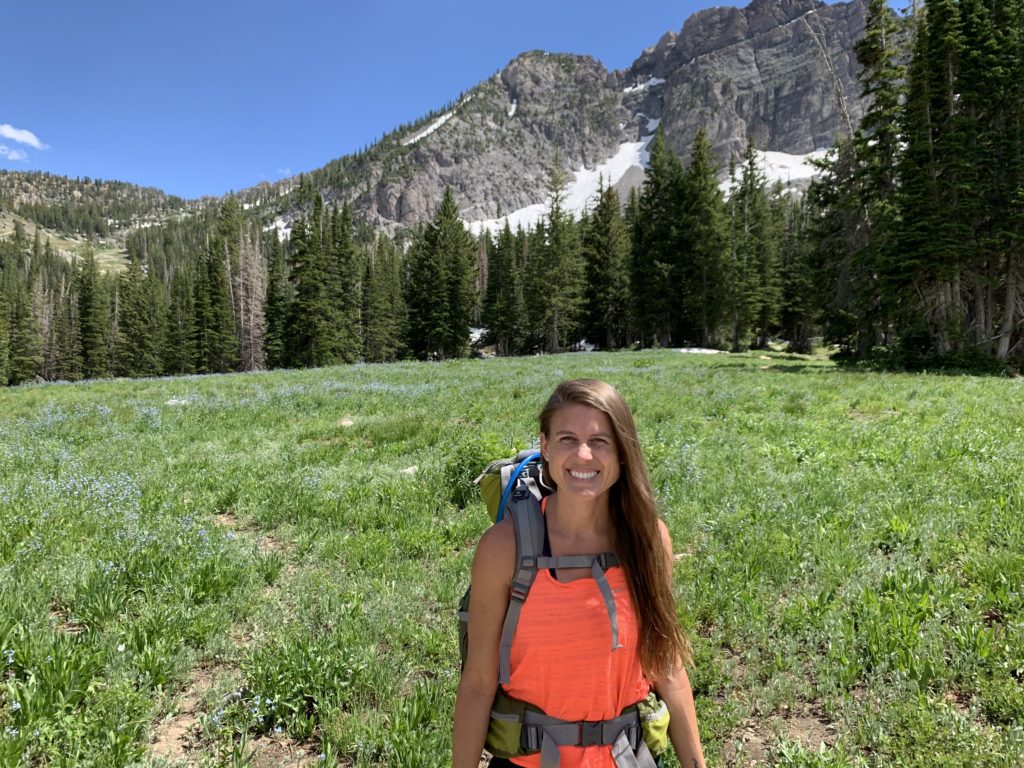
Hiking in Utah during a quick trip to Salt Lake City
#1. Pick a Trail
For beginner hikers, pick easy trails to start. Pick shorter trails with little elevation gain.
While I recommend trying out hikes near you first, you can certainly try hiking in a new place too.
Alltrails is a great app/website to look at hiking trails near you. People rate the hikes, you can check distances, elevation changes, and difficulty. And if you read the reviews, you can get up to date information on trail conditions.
Some of the best trails include mountain views, lakes, waterfalls, or some color-changing trees.
#2. Time Your Hike Correctly
This one’s pretty easy if you’re going on a short hike near your own neighborhood. It gets a bit more complicated if you’re traveling to a hike or if you’re hiking into mountains or desert.
If you’re hiking in the mountains: Go early in the day due to afternoon storms. Most mountain trails aren’t snow-free until June or later. Check alltrails or call the park ranger line to inquire.
If you’re going to a super popular hiking area, start early to avoid crowds. Or if you’re hiking alone and want more people out and about, go during the busier times of day.
For really long day hikes, start early so you don’t get caught in the dark. Or bring a headlamp.
#3. Check the Weather
If you’re new to hiking, and it’s supposed to downpour during the whole hike… skip it. You’ll be pretty miserable, won’t have great views, and you don’t want to ruin your hiking experience.
If it’s going to be cold, bring extra layers.
If it’s going to be hot, bring extra water and wear very light clothing.
#4. Hike with a Buddy
New things are easier with friends. Especially if those friends are experienced hikers and can teach you how to go hiking.
If you don’t have any hiking friends, you can sometimes find facebook groups with hikers in your area.
BUT if you don’t have a buddy, you can still hike. Just pick easier hikes to start. And tell a loved one where you’ll be. Hiking alone can be an amazing experience.
#5. Have All Your Hiking Gear
Hiking does not require much “gear.” I’ve done easy hikes with literally just what I’m wearing. But if you’re going more than a mile or so, you need some more “stuff.”
Here is the bare minimum for what you need for very simple, short hikes:
- Clothing: Wear workout clothes, avoid cotton. Base this on the weather – bring layers if there is any chance it will get cold.
- Shoes: If you’re doing anything difficult or technical, wear good hiking shoes. If you’re just going for a short, flat hike, regular sneakers are just fine.
- Water: You don’t have to bring a large amount, but you should bring some if you’ll be out for a bit and/or it’s hot outside.
- A Way to Carry Things: This could be a day pack if you’re bringing multiple items or a waist pack if you’re just bringing your phone.
- Sunscreen: Apply before and leave in the car if it’s not a long hike.
- Sunglasses (optional)
- Bandana or Hat (optional)
- Tissues (optional): I don’t know why, but my nose always runs while I’m hiking. And I’m awful at snot rocketing.
- Your Charged Phone: Yes, you should escape technology and focus on nature, but a phone can be helpful if you have safety issues. And you might want to take some photos along the way.
Here is what you need if you’re hiking a little longer or if there’s ANY chance of losing the trail:
- Everything listed above
- Safety/GPS Device: If there is ANY chance of losing the trail or needing assistance.
- Snacks!
- A Fire Starter or Matches
- Paper map
- Compass
- First Aid Kit
- Flashlight or Headlamp and Batteries
Honestly, I usually just bring the essentials if I’m hiking a well-marked, short trail. If I’m hiking somewhere with technical sections or if it’s a long out and back or it’s late in the day, I’ll bring the extra items listed. You need to be safe, but hiking does not need to be complicated.
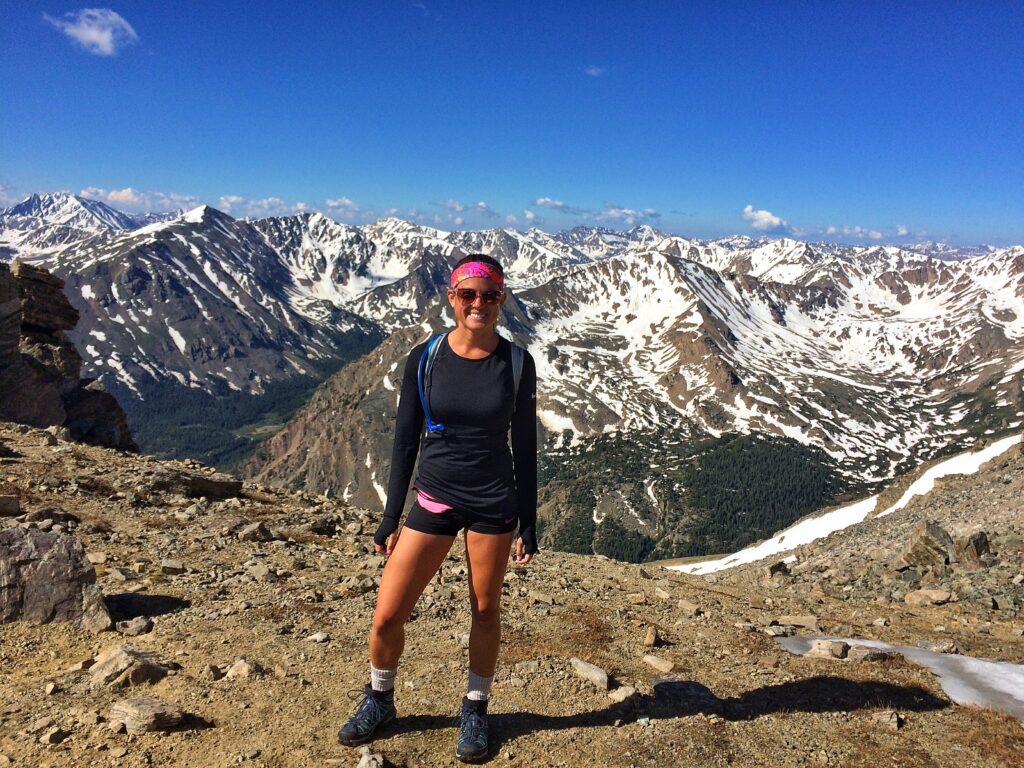
Learn how to go hiking so you can have views like this!
#6. Be Safe
Be smart and safe. Don’t attempt a really difficult trail if you’re not fit enough for it. Watch where you’re walking to avoid poisonous snakes and tripping on rocks. Try to hike with buddies. Always tell someone where you’re going and when you should be back.
They sell satellite messenger devices that allow you to reach help if something bad were to happen in the backcountry, out of cell service. They can be pricey, but they’re necessary if you’re attempting anything risky.
I have personally never used one. Most day hikes don’t require one, especially if it’s a well-traveled trail. So don’t feel like you can’t go hiking if you don’t own one of these expensive gadgets. If you get REALLY into hiking and are attempting dangerous hikes, definitely buy one.
#7. Bring Food and Water
Be realistic about your water consumption. If you’re going on a 2 mile easy hike, just drink some water before you head out. If you’re hiking 3+ miles and/or it’s a really warm day, bring water and bring enough of it.
The general rule is to bring 1 liter of water for every 5 miles you will be hiking.
Keep food simple. Bring granola bars, trail mix, jerky, a peanut butter sandwich, etc. Don’t go hungry, but don’t fill your bag with heavy food that you’ll never eat.
Read Next: A Self-Guided W Trek Itinerary – a 50 mile hike through Patagonia, Chile
#8. Leave No Trace – How to Go Hiking
Leave No Trace is basically leaving nature better than you found it. For hiking, this means:
- Don’t leave any garbage in nature. And pick up any that you see that someone else might have left behind.
- Be respectful of other hikers.
- Respect wildlife. Don’t get close to animals. Even if they’re cute or you want a good photo.
#9. Learn Basic Hiking Etiquette
- Those hiking uphill have the right of way. Pause and let them pass if the trail is tight.
- Don’t play loud music, have super loud conversations with your friends, or talk loudly on the phone.
- If you can tell there’s someone hiking behind you that wants to pass you, let them.
- Keep your dogs leashed unless it’s a leash-free area. Some people have fears of dogs, and some dogs don’t do well with other dogs.
- I suppose it’s not required, but a smile and a wave or a quick hello are nice for fellow hikers.
- Basically, be a kind human. It’s not that hard.
#10. Go. Slow.
Enjoy it. Don’t rush a hike. Smell the flowers, breathe in the fresh air, and clear your mind. You will enjoy your hike more if you slow down a bit, and pacing yourself will help you feel good for the entire hike.
#11. Advice for Bear Country
If you’re in an area where bears are present, the most important thing to know is that you don’t want to surprise them. Make human noises while you’re hiking – yell, talk loudly, sing. Be aware of your surroundings and give bears their space if you spot any.
If you’re hiking in grizzly country – Montana, Wyoming, Idaho, and northern Washington State – you can rent or buy bear spray to keep with you.
Bear attacks are very rare, so I wouldn’t worry too much about this.
This article by HikingGuy is an awesome, well-informed resource on hiking in bear country.
#12. How to Go Hiking: Using the Bathroom
Try to use designated latrines or porta potties at the start of the hike if you can. If it’s an emergency while you’re hiking, you can still go.
Peeing is easier – get off the trail (200ft or so), away from water sources, etc. and go.
Pooping requires a bit more prep and work. You need to dig a hole, pack the toilet paper out, etc. I have a whole article about how to poop in the woods.
#13. Figure Out How Long Your Hike Will Take
Generally, it takes around 20-30ish minutes for each mile. It takes longer if you’re hiking uphill, if you’re carrying a lot in your pack, or you’re just a slower hiker. Always plan for it to take longer than you think; being rushed during a hike is never fun.
#14. Incorporate Hiking into Your Travel
Hiking while traveling is one of my favorite things to do. You can get off the beaten path and explore the beauty of a new place. Google the best hikes, pack your hiking shoes, and hike on your next trip.
#15. Try Backpacking Next 🙂
I am a HUGE fan of backpacking. So if you start hiking, realize you LOVE it, and want more of a challenge – backpacking is it. You hike with all your camping gear on your back and camp deep in nature. It’s the best. Backpacking Tips for Beginners is a great place to start.
The Physical Benefits of Hiking
Hiking is so good for you! We all know that exercise is good for us. Hiking helps with muscle and bone strength, it keeps your heart healthier, it can lower your blood pressure, and it can improve your balance.
The Mental Health Benefits of Hiking
There are a bunch of studies that show that being in nature helps our mental health. Even if these studies didn’t exist, you can just feel it when you’re hiking. Your mind just feeeeels better. I promise.
Hiking gets you outside in the best way. It calms anxiety, helps with depression, and it can help your sleep!
How to Go Hiking
I hope you learned some things from this article and that you start your hiking journey tomorrow 🙂
There’s a whole world of beauty out there, and it’s best explored by trail.
For More on Hiking:
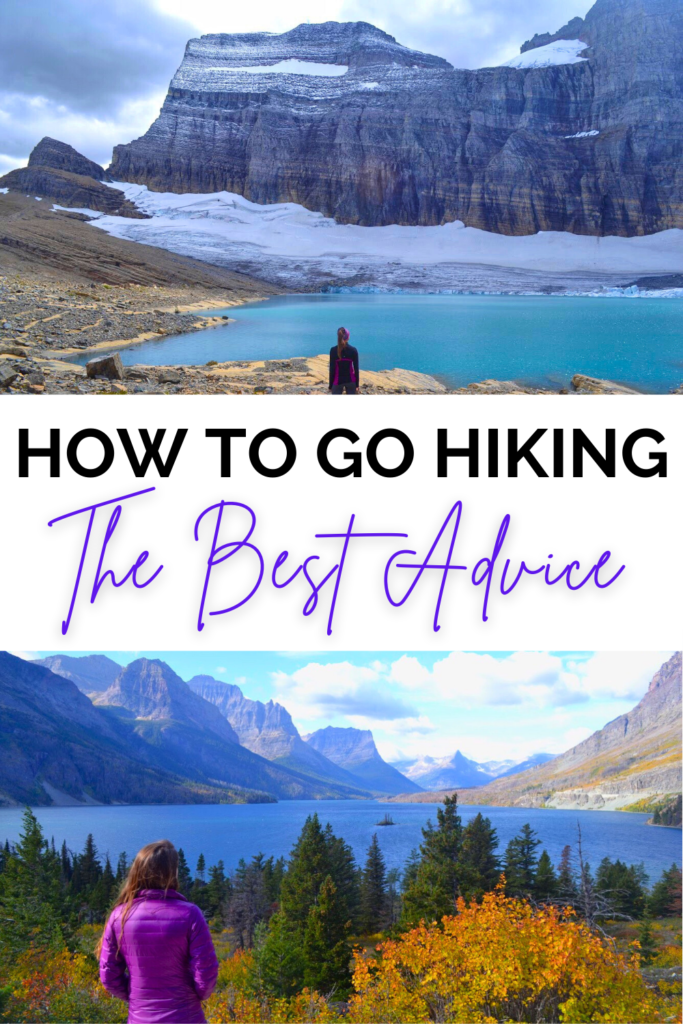
Pin How to Go Hiking for Later!

Comments? Ideas? Advice? Leave some!