The Best Tour du Mont Blanc Itinerary
This post is a detailed Tour du Mont Blanc itinerary. While the Cicerone guidebook (your necessary trek Bible) covers almost everything you need to know for this trek, it’s good to know everything about your once-in-a-lifetime trek. From a TMB newbie, here’s what I learned and think would be helpful for the next hiker.
My friend and I camped our way along the Tour du Mont Blanc and had the most incredible time. You can choose to day hike it and still follow this Tour du Mont Blanc Itinerary, you’ll just need non-camping accommodations along the way.
About the Tour du Mont Blanc
The Tour du Mont Blanc or TMB is a 105 mile hike around the Mont Blanc mountain range. You hike through Italy, Switzerland, and France and weave through quaint towns and mountain passes. The loop is typically hiked in 11 days, counter-clockwise. You will have more than 32,000 ft of height gain/loss, more than climbing Everest. The best time to go is summer – end of June thru September.
If you are first starting to look at backpacking the Tour du Mont blanc, start here with the Ultimate Guide to the TMB.
Sometimes I like a quick snapshot of what each day has in store. I figure I can’t be the only person who likes that, so I made a printable, not so detailed, Tour du Mont Blanc Backpacking Itinerary that you can download here. 11 Day Tour du Mont Blanc Itinerary PDF

Download The Tour du Mont Blanc Itinerary at link above
Things to Know for this Tour du Mont Blanc Itinerary:
One of the joys of the TMB is all the little stops you can make along your hike. There are refuges, cafes, sandwich shops, bakeries, and bars. Some are in little towns and some are in the middle of the wilderness. While they are reprieves from hiking, they are so much more than that. They are filled with fellow trekkers, kind workers, and each town has their own personality depending on what country you’re in and who runs it. Sit back and enjoy them.
I have listed in the Tour du Mont Blanc itinerary some of the stops along the way, but you might feel weary at different times than we did. Stop whenever you feel like it. It’s part of the trek.
While I would have loved to have slept in a tent the entire way, there are 3 nights of the TMB when it makes more sense to stay in lodging due to lack of camping options. Nights 3, 4, and 5 will be spent in lodging at rifugios or a hotel. We spent a lot of time researching camping options, but they would have taken us far off the trail and/or required buses. Staying in the refuges actually enhanced our TMB trek.
Rifugio beds: Think about sardines in a can. That is how you will be sleeping. You sleep on a raised wooden platform, right next to another person. The refuges don’t really have a choice.. if they didn’t cram people into every available area, they wouldn’t be doing their job of being a “refuge.” They try to accommodate as many hikers as they can. You are sometimes hours from the next refuge. Bring earplugs and a sleep sheet.
I recommend doing laundry on day 4 and day 7. Plan accordingly.
Have a plan for when you will need to cook camping meals. If you know that on night 2 you will need to cook, make sure you have the groceries/food to do so. We brought a few backpacker meals from home and then also bought groceries along the way.
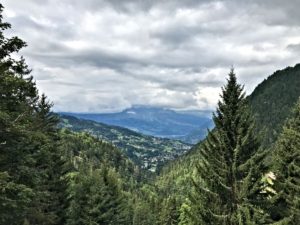
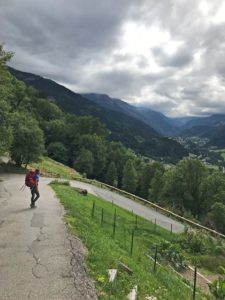
Day 1 Views
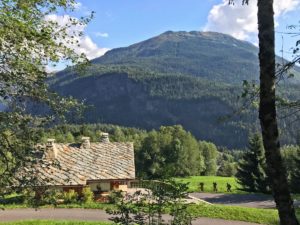
Day 1 Les Houches – Bionnassay – Les Contamines
- Distance: 16km/10mi
- Height Gain: 646m/2119ft – Height Loss: 633m/2076ft
- Time: 5.5 hours
- Where to Camp: Camping le Pontet (not far off the trail) $20ish.
- What’s Available: Groceries in town. Dinner (expensive) at the campground. Hot showers, paid wifi, and laundry at the campground.
Day 1 is a fantastic intro to the Tour du Mont Blanc. It is not a ruthless, kick your ass start to the trek, but it certainly gives a glimpse of what this trail is capable of.
The guidebook offers an alternative route that we did not take. We figured this trek was going to be difficult enough without choosing the “demanding route” for our first day. We had no regrets. You should also not take it if the weather looks anything but promising – there is no shelter.
You can also take a cable car from Les Houches to Bellevue if you’re wanting to ease your way into the trail. My friend and I are stubborn and felt that we could take no shortcuts on the TMB; we did all the uphill on day 1.
Day 1 is very straightforward in the guidebook. It is a lot of road walking on day 1, but the houses that you pass are quaint with some mountain views.
When you arrive in Les Contamine, stop and have a drink (I recommend trying a Picon Biere), then stop at a market to buy what you might need for cooking. It will be 3 days before you encounter more grocery stores. There are some fine bakeries here if you wish to begin your croissant obsession.
Read the start of Stage 2 in the guide book for how to get to the campground. It is around 45 minutes past the town.
When you see the lake/restaurant, turn right into the park before the lake. Curve left around the lake then right towards the campground. You’ll take a right on a road and then reach the entrance.
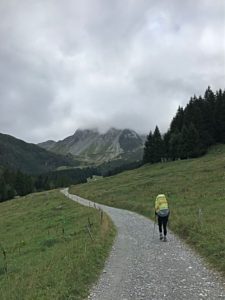

Day 2 views (super cloudy day)
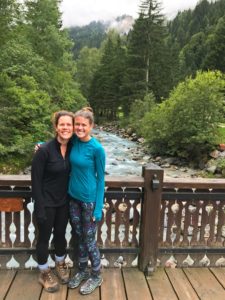
Day 2 Les Contamines – Col de la Croix du Bonhomme – Les Chapieux
- Distance: 18km/11mi
- Height Gain: 1316m/4317ft – Height Loss: 929m/3047ft
- Time: 7.5 hours
- Where to Camp: Free camping in Les Chapieux (on the trail)
- What’s Available: Toilet and sink.
Day 2 is when the TMB turns it up a notch. It is straight uphill for what feels like hours. It is supposedly beautiful as you pass over Col de la Croix du Bonhomme. I pray you have a blue sky day so you can experience this view.
If you happen to have the grayest hiking day you’ve ever experienced, just keep going. Put one foot in front of the other, accept that you have no reward for this difficult day except making it to the next one. Remind yourself that Mont Blanc controls the weather here, and the mountain isn’t always kind to hikers.
If you have the time, stop at Refuge de la Croix du Bonhomme. It is run on solar power and looks like a large yurt. Order a tea before you power through the downhill to Les Chapieux.
Les Chapieux is the tiniest town (not sure it’s even considered a town), so you can’t miss where to camp. You can camp in the big meadow behind the public toilets.
Plan to eat a camping meal this night – the restaurant was only open to hotel guests, and the small sandwich shop was already closed by the time we arrived.
The sandwich shop opens quite early in the morning, and their sandwiches are worth buying to take with you. They also sell hard boiled eggs (when available), pastries (of course), and some other snack items.
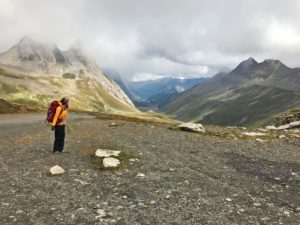

Day 3 trail views
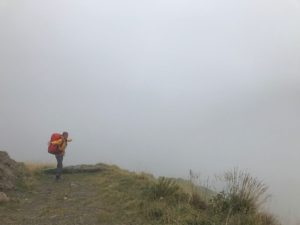
Day 3 Les Chapieux – Col de la Seigne – Rifugio Elisabetta
- Distance: 15km/9.3mi
- Height Gain: 1004m/3293ft – Height Loss: 258m/847ft
- Time: 5 hours
- Where to Stay: Rifugio Elisabetta or camp somewhere above the Rifugio
- What’s Available: A stay at the refuge includes dinner and breakfast, a hot or cold shower (depending on how that particular shower is feeling), and wifi.
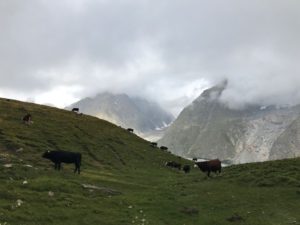
Day 3 of the Tour du Mont Blanc is another climb. This time through cow territory and into Italy.
A word of advice – if you are experiencing a cold, windy day, do not eat on the pass at Col de la Seigne. It is literally the coldest part of the entire day. Hike for a few more minutes and you will escape the wind a bit.
A unique stop on this day is La Casermetta, not too far from Rifugio Elisabetta. It is a museum and info center that also offers a toilet and free wifi.
This is one of the nights where camping is tricky. To wild camp in Italy, you must camp above 2500m/8200ft or risk a huge fine. Rifugio Elisabetta is at 2200m/7200ft, so you would need to keep climbing up past the refuge for another 1000ft or so. From the research I did, it sounds like if you keep climbing up past the refuge you will hit some flat areas for camping that can’t be seen from the road.
Snow and freezing temperatures were expected for this night, so we opted to stay at Rifugio Elisabetta, which was 47 Euro per person and included a “bed,” dinner, breakfast, and a stunning view of a glacier.
If the refuge is full, you can wait it out until 6:30pm (their cut off for people arriving for reservations). If people don’t show, you can take their spots. I honestly think they just found a spot for us, despite saying they were full. We slept in a hallway. I recommend making a reservation ahead of time if you know exactly what night you are staying.
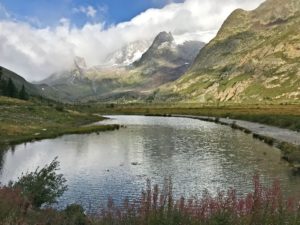
Day 4 – Courmayeur from afar in photo #3
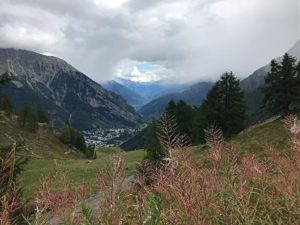
Day 4 Rifugio Elisabetta – Courmayeur
- Distance: 18km/11.1mi
- Height Gain: 460m/1500ft – Height Loss: 1560m/5118ft
- Time: 5.5 hours
- Where to Stay: at a hotel in Courmayeur
- What’s Available: It’s civilization! Grocery stores, ATM, restaurants, laundry, wifi, trekking boots, cheese…
This is a rather demanding day with over 11 miles of hiking. The views make it worth it. As you’re hiking out of Rifugio Elisabetta, keep turning around to see the epic glacier view. Stop by the lake to take photos before your uphill (are you sensing a pattern of what each day entails?) battle begins again.
Col Checrouit offers a beautiful view, and I’d imagine is lovely in summer with the outdoor seating. You can have a good lunch here as it’s a somewhat needed stopping point.
Unfortunately, a campground in Courmayeur does not exist. I should probably move there and open one, but alas, you’ll have to stay in a quaint hotel instead. You can go through a lot of extra effort to take buses to camp elsewhere, but I don’t know that it’s worth it to leave the trail to find a campground.
Accommodations in Courmayeur are not expensive, and it’s SO worth it to stay in a private hotel room with your own bathroom. Gah, luxury! There is a tourist office as you come into Courmayeur, and they can tell you what’s available, pricing, etc.
I can recommend Hotel Edelweiss for 90 Euro/$97, and this included an AMAZING breakfast. They also did all of our nasty laundry for 5 Euro.
If you are trekking during high season, book a room ahead of time. If not, you can walk up to hotels and ask for price/availability and pick one that suits your fancy.
**Plan to do your laundry in Courmayeur. There’s a laundromat, but it isn’t open on Sundays. If your hotel does laundry for cheap, treat yo self.
Try to time your laundry well. We had the hotel launder basically all of our clothes, so then we had to wander around Courmayeur with only jackets on top. We were hangry by the time our laundry finished.
Speaking of treat yo self, please eat at La Tunnel. Order pizza AND homemade pasta. My eyes tear up just thinking about that meal. Also, buy cheese to take on the hike. There are a bunch of local cheese shops and my god it is to die for.
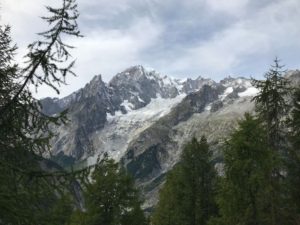
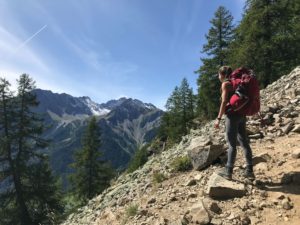
Beautiful Day 5
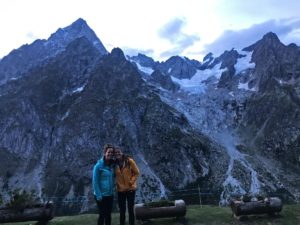
Day 5 Courmayeur – Rifugio Bonatti
- Distance: 12km/7.5mi
- Height Gain: 860m/2821ft – Height Loss: 101m/331ft
- Time: 4.5 hours
- Where to Stay: Rifugio Bonatti
- What’s Available: a 1 minute hot shower, dinner and breakfast
This has the potential to be a really beautiful day. Everyday in the European Alps has that potential, I guess, but if it’s clear, the mountain views are astounding.
Follow the guide to get out of Courmayeur; we somehow got quite lost when we took a random dirt path that was not the TMB route. Stay on Strada del Villair until it ends.
Rifugio Giorgio Bertone, partway through the trek this day, offers an incredible view of the mountain range. We ate the to die for cheese while sitting in the grass, in awe. (It was also sunny for the first time on our hike, so we were the giddiest humans.)
I am, unfortunately and fortunately, telling you that you have one more night of sleeping indoors. You are still in Italy, so you can’t wild camp. Rifugio Bonatti is a couple hours hike from any town, and to camp you’d have to go way off the trail and take a bus to Val Ferret. You’d miss out on the TMB.
Rifugio Bonatti is in the most incredible location. I can’t believe it even exists in this remote area, surrounded by mountains and trees. You might love camping, but you’ll also love staying here. The dinner included a bean soup, and I didn’t know beans could have that much flavor. The sunset view alone is worth your stay here. Reservations should be made ahead if you can.
Cost is 55 Euro per person. You can buy sandwiches for the next day as well. They are not as delicious as the ones from Les Chapieux, but sometimes you just need sustenance.
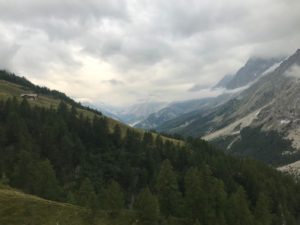

Day 6 views into Switzerland
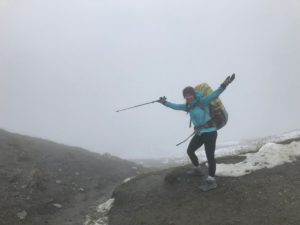
Day 6 Rifugio Bonatti – Grand Col Ferret – La Fouly
- Distance: 20km/12.5mi
- Height Gain: 895m/2935ft – Height Loss: 1410m/4625ft
- Time: 6.5 hours
- Where to Stay: Camping des Glaciers $10-15 per person
- What’s Available: Groceries in town. Hot showers, a cooking room, and free wifi at the campground.
Day 6 is the day that you cross into Switzerland! You will either be able to see Switzerland or gray clouds 🙂
You can stop at Rifugio Elena for food/drinks, but it is right before the most intense climb. Le Peule is a couple hours later, where you can enjoy lunch.
Back to camping! Camping des Glaciers is a very modern campground. You can’t miss it.. you’ll see signs before you even get into town. It’s a 10-15 minute walk into town. Pick up groceries in town if you need them.
And if you want to eat at a local Swiss restaurant, this is the tiny town to do it. We ate rösti, a potato dish, at a local hotel.
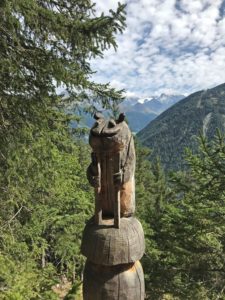
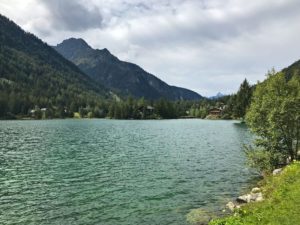
Day 7 Views

Day 7 La Fouly – Champex
- Distance: 15km/9.3m
- Height Gain: 420m/1377ft – Height Loss: 565m/1853ft
- Time: 4.5 hours
- Where to Stay: Camping les Rocailles $30ish for a campsite for 2
- What’s Available: Supermarket, ATM, restaurants in town. Hot showers, laundry, a cooking area, and wifi at the campground.
This is the easiest day of the Tour du Mont Blanc Itinerary, says the guidebook. Great, we thought, and we stopped reading. The author’s right; it is the easiest day, but there’s also an ascent at the end that you should be prepared for. This ascent led me to lay on the ground and insist that my friend needed to call the emergency helicopter. My brain was completely unprepared for an uphill hike. It would have been easy had we looked at the elevation chart. It was nothing compared to the other days, but it felt terrible because we thought the whole day was easy.
Don’t make our mistake. Know that there is an uphill climb at the end but that the day as a whole is quite enjoyable.
You find yourself meandering through little Swiss villages while walking on *gasp* a flat surface. Enjoy it!
Champex is a lovely little town set aside a lake. You’ll find a supermarket, ATM, restaurants, and a nice campground. (Don’t buy croissants here. I don’t understand how Swiss croissants taste terrible when they’re so close to France who’s PERFECTED croissants, but they are not good. Don’t bother.)
Camping les Rocailles is located just past the city center. If you buy groceries in town, they’ll give you a little crate that you can carry to the campground and leave there.
We did laundry on this day that got us through to the end of the trek.
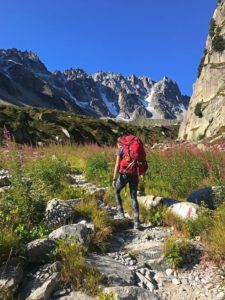
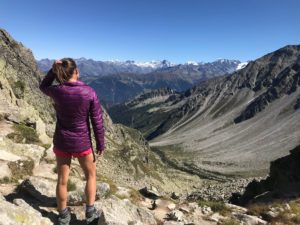
Day 8 – Photos from the Alternate Route
Day 8 Champex – Alp Bovine – Col de la Forclaz OR Champex – Fenetre d’Arpette – Le Peuty
* This was the only day that we took a major alternate route. If you have a clear day and want to cross a difficult mountain pass, do the alternate route from the guide. If there’s any chance of bad weather or if you’re worn out (understandable) keep to the regular route; we heard it’s very pretty too.
Main Route:
- Distance: 16km/10mi
- Height Gain: 742m/2434ft – Height Loss: 682m/2237ft
- Time: 5 hours
- Where to Stay: Camp next to Hotel de la Forclaz – $10-15 per person
- What’s Available: Toilets, showers, expensive hotel food
We were told by other hikers that this route offered really beautiful views and didn’t destroy their spirits. The camping is supposed to be decent as well.
Day 8 Alternate Route:
- Distance: 14km/8.6mi
- Height Gain: 1199m/3933ft – Height Loss: 1139m/3736ft
- Time: 6.5 hours +
- Where to Stay: Camp in a field in Le Peuty – free or $5-10
- What’s Available: Toilets with NO toilet paper, porta potty showers, possibly food at the hotel, a cooking area
The guidebook calls the alternate route the “more spectacular route.” If anyone calls anything “spectacular,” I’m going to try to see it. If you’re like this too, here’s what you’re in for on day 8.
If you read the elevation for the day, you can see that it is a whole lot of uphill followed by a whole lot of downhill. It is no joke.
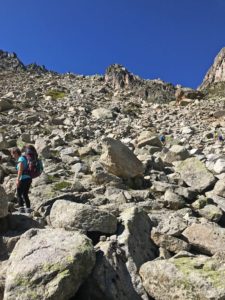
You climb for the first 3.5 hours of your day. Around 45 minutes from the highest point, you enter a rocky area. The guidebook says “waymarks and small cairns lead the way across these boulders, but they are not always clearly visible. Great care needs to be taken on this section, for some of the boulders are unstable.”
Here are the issues if you take this route with a large backpack on:
- Your pack is heavy and will keep pulling you backwards; this makes you feel like you’re going to fall.
- You can’t look up very well because your head hits the top of your pack; it’s easy to lose the trail.
- If you have a fear of heights, you might envision yourself falling to your death, thus leading to almost panic attacks.
- This is your 8thday in a row of backpacking. It’s exhausting.
My advice is this: Don’t panic. Don’t follow other hikers. Constantly look around to make sure you’re on the trail. And if you’re worried at all about making it through this hike, take the main route.
By the time you make it to the top, feeling like you cheated death, you will look like death. Try to bring something good to eat; we unfortunately brought the worst bread of all time.
And then you have to hike down the steep downhill. Not as terrifying, but it can take FOREVER. This day called for a 6.5 hour hike, and it took us 9 hours. Be aware of this and maybe adjust what time you start hiking in the morning.
The camping at Le Peuty is in a field right as you come into the town. You’ll see a plain building with public toilets (NO TOILET PAPER) and the camping is right behind there. If it’s not full already, you can eat dinner at the small lodge across the street. No one ever came around to collect payment from us while we were there.
This was our least favorite “campground” on this TMB itinerary, but we couldn’t complain much because it ended up being free.
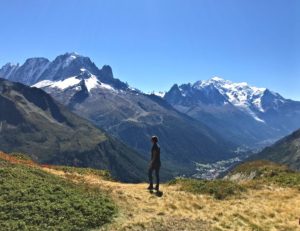
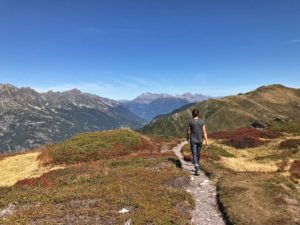
Glimpses of Day 9
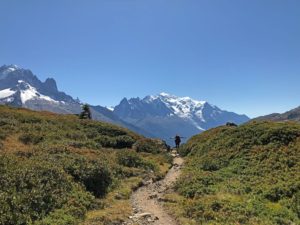
Day 9 Col de la Forclaz or Le Peuty – Col de Balme – Tre le Champ
- Distance: 13km/8mi
- Height Gain: 1069m/3507ft – Height Loss: 1178m/3868ft
- Time: 5.5 hours
- Where to Stay: Chalet Pierre Semard (on the trail) – $10 or Camping du Glaciers in Argentiere (30-40 mins off the trail) – around $10 per person
- What’s Available: Chalet Pierre Semard offers free wifi, food, laundry, and hot showers. Camping du Glaciers offers hot showers, laundry, free wifi, and a town with a grocery store and restaurants.
If you’re still with me on this detailed Tour du Mont Blanc backpacking itinerary, thank you.
This day is a glorious one. If you are lucky to have clear skies, the views of Mont Blanc and its range are some of the best of the trek.
I highly recommend taking the main route if the weather is decent. There is an alternate route that should be taken if there are any risks of storms. The main route provides you with panoramic views, wildflowers to sniff, and one of the best picnic spots I’ve ever encountered.
Chalet Pierre Semard is in Les Frasserands, not too far off the TMB trail.
We stayed at Camping du Glaciers, and it was our favorite campground of the trip. If you’re in need of groceries you’ll have to stay here. I highly recommend walking 5-10 minutes into town for pizza.
* Important to note – once you leave Argentiere or Tre le Champ, the only free drinking water is at the cable car station at La Flegere – and if that’s closed already, you’re out of luck. Stock up or pay for bottled water at the various stops.

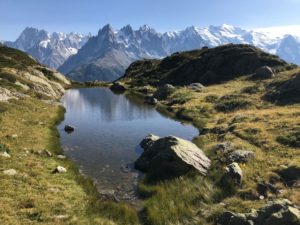
Day 10 with variant to Lac Blanc
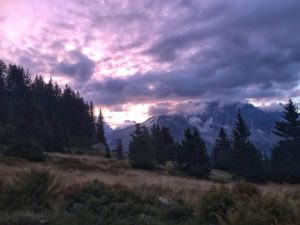
Day 10 Tre le Champ – Refuge La Flegere
* Listed is the main route, but I highly recommend taking the variant to Lac Blanc. It’s beautiful.
- Distance: 8km/5mi
- Height Gain: 733m/2404ft – Height Loss: 257m/843ft
- Time: 4 hours
- Where to Stay: Wild camping outside of Refuge la Flagere
- What’s Available: Food and toilets at the refuge
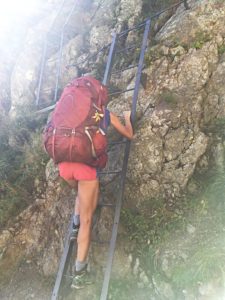
Day 10 is when you get to climb the ladders. They’re mildly terrifying with a pack on, but just be careful. There is an alternate route that avoids the ladders, but I recommend taking the main route.
Refuge la Flagere was closed and under construction when we hiked the TMB in 2019, so we wild camped an hour past the refuge. I’ll relay what I’ve read about camping here.
The refuge staff can point you to where you should set up your tent (or look for fellow campers). You can use the refuge’s facilities if you buy a beer. Drinking water is not available at the refuge but is available at the cable car station. Stock up before it closes.
Wild camping in France: We had read that rules were not as strict for France, so we decided to try to find a backcountry site. My advice is to read through the guidebook and see if there are any parts of the trail that are described as flat or in a field. Around 45 minutes past Refuge la Flegere, you will come to some open grasslands. This is a glorious spot.
Always follow the leave no trace rules when picking a backcountry site. If you find yourself needing to wild camp in France while hiking the TMB, it is doable.
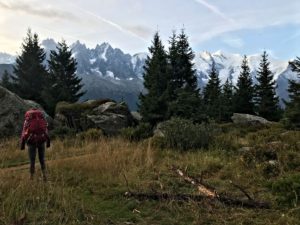
FINAL DAY – 11
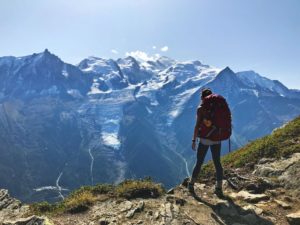
Day 11 FINAL DAY Refuge La Flegere – Le Brevent – Les Houches
- Distance: 17km/10.5mi
- Height Gain: 772m/2532ft – Height Loss: 1546m/5072ft
- Time: 6.5 hours
- Where to Stay: Somewhere in Chamonix or Les Houches
Soak it in. Col du Brevent provides snacks and the closest view of Mont Blanc. It is not an easy day of hiking, but the astounding views of Mont Blanc make it such a sweet ending to the trek.
The guidebook guides you past a zoo to Les Houches, and it seems a bit confusing. Ask people where to go if you can – or use GPS.
The ending felt a little anticlimactic to us. We felt quite lost and then found ourselves at the bus station, dehydrated and exhausted. If this happens to you, make sure to sit down for a proper dinner that night to cheers to what you accomplished. The human body is truly incredible to be able to hike all day for 11 days in a row.
I truly hope this trek is an awesome one for you. I hope this detailed Tour du Mont Blanc backpacking itinerary gives you enough information to supplement the Cicerone guidebook and helps you plan the perfect trip.
More on the Tour du Mont Blanc:
11 Reasons to Hike the Tour du Mont Blanc
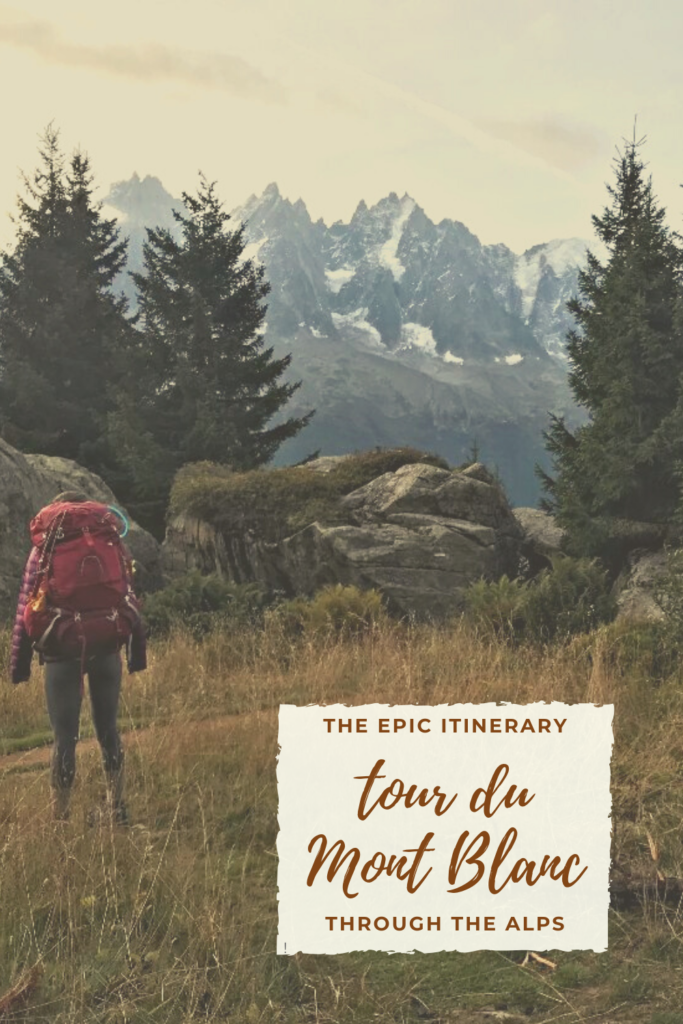
Pin this detailed Tour du Mont Blanc itinerary for later


Comments? Ideas? Advice? Leave some!