Learn How to Hike or Backpack The Pohono Trail
Yosemite National Park is FULL of amazing trails; it’s hard to choose which ones to hike, especially if you only have a handful of days in the park. While I haven’t spent as much time in Yosemite as John Muir, I can honestly say that if you hike or backpack The Pohono Trail, you will be thrilled with how you spent your time. I know that John Muir would approve.
I put probably too much effort into googling the best hikes wherever I go. If I have a limited amount of time in a place or a National Park, I want to be sure I’m spending it on the best trails.
For Yosemite, look no further than the Pohono Trail.
Backpack The Pohono Trail Jump to:
- About the Pohono Trail
- Important: Transportation to the start and from the end of the Pohono Trail
- Option #1: 2 cars.
- Option #2: Guided bus tour.
- Option #3: Hitchhike.
- How to reserve a backpacking permit ahead of time
- How to obtain a backpacking permit once you’ve arrived in the park
- Where to camp when backpacking the Pohono Trail
- A snapshot of the hike
- Backpack the Pohono Trail Recommendations
About the Pohono Trail
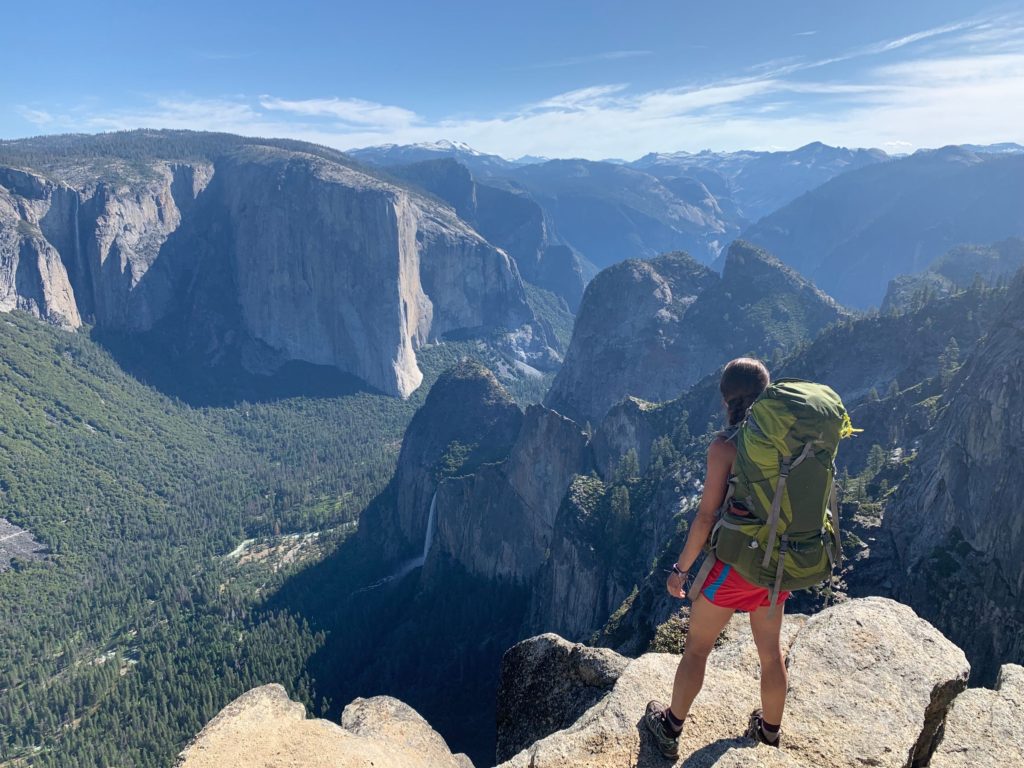
The Pohono Trail is a perfect one night backpacking trek. Or long day hike. It is a one-way, 13 mile hike. You are inundated with stunning overlooks of Yosemite Valley for a majority of the hike. If you look at a map of the trail, it is dotted with an outrageous amount of viewpoints. And with 3700 feet of elevation gain, it’s not that strenuous of a hike. It’s a lot of bang for your buck (I’ve never used this phrase before, but it just fits with this trail.)
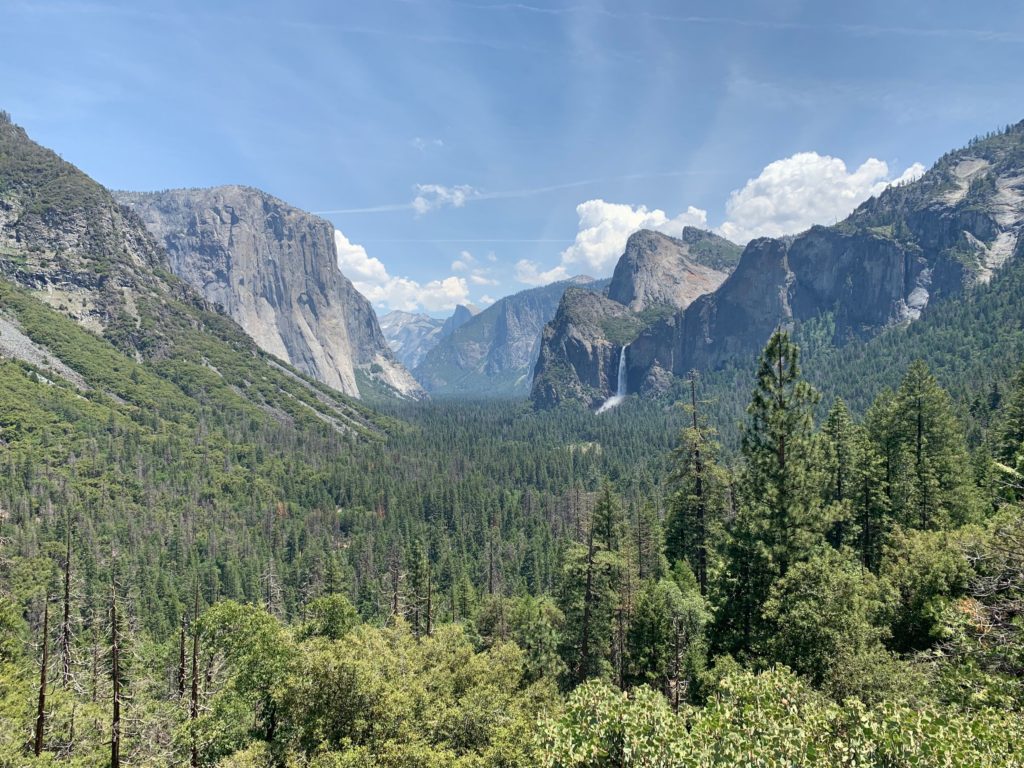
To backpack the Pohono Trail, you will start at Glacier Point (arguably the best view in the park) and hike down to Tunnel View (another one of the great views in the park). You can hike it the other way (Tunnel View to Glacier Point), but it’s more difficult and even more difficult for transportation.
To do this as a day hike, you would need to start early; it can take 5-10 hours to hike the whole trail.
The Pohono Trail can be hiked once Glacier Point Road is open, likely mid-May until end of October. We hiked it in the middle of June, and there was still some snow on the ground. Be prepared if you hike it before the snow has all melted.
As long as you can figure out the transportation, this would be an awesome first backpacking trip!
Important: Transportation to the start and from the end of the Pohono Trail
I mentioned that this is a 13 mile one-way trail. Unless you plan on completing a marathon and going both ways, you will need a way to get to the start of the trail and hopefully your car can be at the end of the trail. The end of the trail is 6 miles from Yosemite Valley, so unless you want to add that to your backpacking day (you don’t – there are better ways to spend your time in Yosemite), you’ll want to figure out transportation.
You have a few options:
(I promise the rest of the post isn’t as confusing as this section. It was just really complicated to figure out how to hike this one-way trail, and I want you to have all the options.)
Option #1: 2 cars.
You can park a car at one end (Tunnel View), drive another car to the start (Glacier Point), hike the trail, then drive back to pick up the other car. This is definitely the least worrisome option, but you must have 2 cars available.
Option #2: Guided bus tour.
You can use the guided bus tour. This option is a little risky and mildly expensive ($57 round-trip per person). The bus stops at Glacier Point and then stops at Tunnel View on the way back IF there’s time. It’s a bit of a flaky option.
Option 2a: You could take the shuttle from Yosemite Valley, hop off with your packs at Glacier Point, then try to catch the shuttle from Tunnel View the next day. The issue here is that you could miss the bus from Tunnel View, the bus might be full already, or it might not stop at Tunnel View at all. A very risky option.
Option 2b: You could also have person A take the bus tour, have person B drop your car at Tunnel View, try to convince the bus driver to pick up person A at Tunnel View, and then both of you can start together at Glacier Point. This puts you at the mercy of that bus driver, though.
Option 2c: you could park a car at Glacier Point, take the bus tour from there to Tunnel View, and hike the more strenuous Tunnel View to Glacier Point route. If the tour runs out of time, though, you won’t be dropped at Tunnel View and will be taken to Yosemite Valley with no car or way to get to the trailhead. Yikes.
Also, we had planned on trying this bus option, but 2 hours before our bus tour, they unexpectedly canceled the tour. We were given multiple reasons for why it was canceled, none of which made any sense. The bus tour option is really risky.
Option #3: Hitchhike.
Hear me out. Hitchhiking is legal in California, meaning it’s legal in Yosemite, there are plenty of hikers out that can pick you up, it’s free, and you might make a new friend. In this scenario, you will park a car at Tunnel View and catch a ride to Glacier Point. The next day, you’ll have your car waiting for you when you finish your trek. There are plenty of places to stand with your thumb out. It only took us maybe 7 minutes to catch a ride.
I wrote a whole post about hitchhiking in Yosemite if you want more info.

How to reserve a backpacking permit ahead of time
Only a certain amount of wilderness permits are released from each trailhead to give everyone the chance for solitude on the trail. 60% of the permits for each trail are reserve-able 24 weeks in advance. 40% are released on a first-come first-served basis 7 days in advance. Everything is done on recreation.gov now. Head to this page to see when you need to book your backpacking permit based on when you will enter the trail.
Search Pohono Trail (Glacier Point) and select the date you are going to enter the trail based on availability. You will then fill out where you will camp (I highly recommend Dewey Point). It’s $10 per reservation and $5 per person.
Pick up your permit from one of the five wilderness centers once you arrive in the park. You must pick up your permit by 11am the day of your hike or it will be released to other campers.
Read Next: How to Poop in the Woods while Backpacking. For more inspiration, see the 10 Best Bucket List Backpacking Trips.
How to obtain a backpacking permit once you’ve arrived in the park
Starting the day before your hike, you can get a first-come, first-served backpacking permit from one of the Wilderness Permit Stations in the park. IT IS RISKY. Try to get a reservation ahead of tie. They give priority to the closest Wilderness Permit Station in relation to the trailhead, so for the Pohono Trail you would want to go to the Yosemite Valley Wilderness Station.

Where to camp when you backpack the Pohono Trail
There are no designated campsites on this trail. It is wild camping. Please always follow Leave No Trace rules.
This map has little arrows on the trail, and you must camp in areas past the arrows. Coming from Glacier Point, you’ll pass Bridalveil Creek, and you must camp past that point. There are some nice spots just past the creek where people had set up camp.
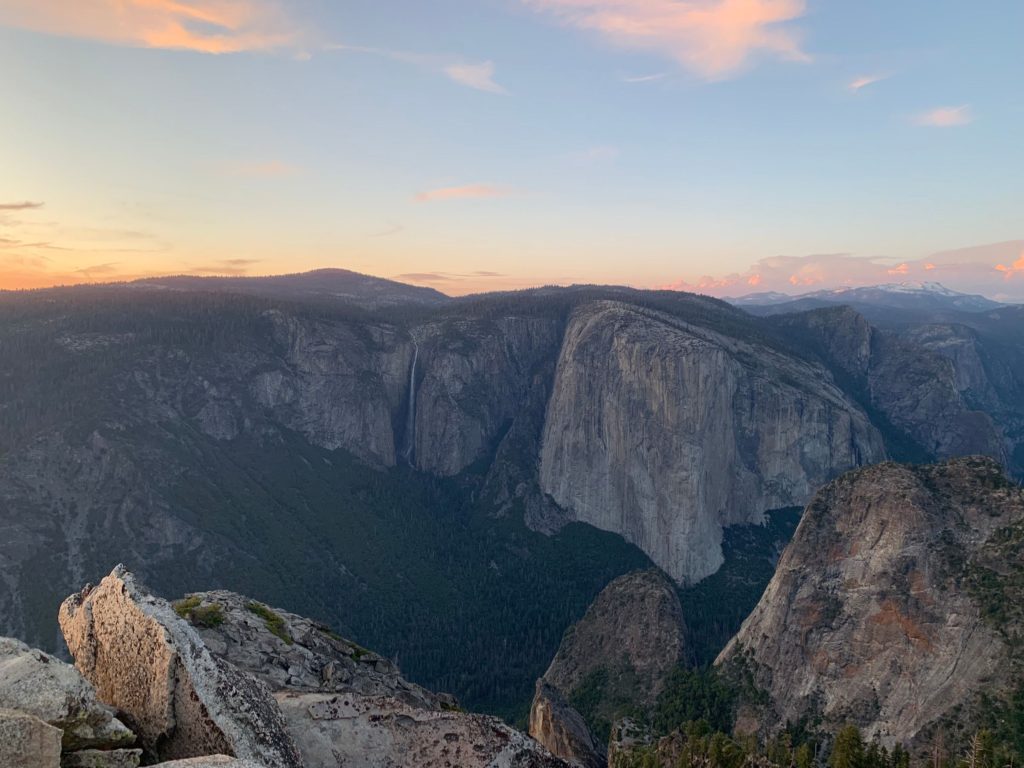
My recommendation, though, is to continue on and camp at one of the “Points.” We camped near Dewey Point, and it was epic for sunset. You could also continue on and camp near Crocker Point, which was one of our favorite views.
A snapshot of the Pohono Trail
You will start at Glacier Point, which is STUNNING. Soak that view in before starting your trek.
After a mile of hiking, you will have to decide if you want to add an extra half mile to your trek by hiking to Sentinel Dome. Unfortunately, we were too short on time to be able to do it, but it is highly recommended.
Hike another 3.5 miles, and you will reach Taft Point, offering an incredible view of El Capitan.
2.5 miles later, you will reach Bridalveil Creek. You can camp beyond this landmark.
I recommend hiking another 2.5 miles to camp at Dewey Point. This means that you’ll be hiking around 9 miles to reach Dewey Point. Time the start of your hike accordingly.
Crocker Point is a little less than a mile from Dewey Point, and Stanford Point is 1.3 miles from Dewey. Both offer amazing views of Yosemite Valley.
After Stanford Point, the views are not as great for your last 3.7 miles. Enjoy the end of your hike, though, and take in Tunnel View when you reach the end.

Backpack the Pohono Trail Recommendations
Traffic in Yosemite can get really, really bad all summer long. Allow extra time to get to the trailhead to account for the traffic you might end up sitting in (it could potentially add an hour or more).
You will need to bring a bear canister to store your food and other smelly items. You can rent one of these when you pick up your backpacking permit from the Wilderness Center.
Start your hike early enough that you can add the hike to Sentinel Dome.
Bring bug spray and layers and an extra pair of socks for when you dunk your boot while creek crossing.
Spend a night or 2 at Yosemite’s Secret Backpackers’ Campground – you have access to it the night before and night after your backpacking trip.
Really take some time to soak in the views along this trail.
Use this Backpacking Gear Packing List to make sure you have everything for your trek.
If you camp near one of the views of El Capitan, watch the lanterns go on at dusk. The climbers of El Cap turn their lanterns and headlamps on, and you can see them dotting the side of the mountain.
Because this trail isn’t overly popular due to the transportation issues listed above, you will spend a lot of time in solitude. Enjoy it.
With so many options of beautiful views in Yosemite, I felt that this incredible trail really quenched my desire for beauty. I hope you get the chance to backpack the Pohono Trail. Please let me know in a comment below if you do!
Happy Hiking!


Comments? Ideas? Advice? Leave some!